

Proper maintenance of your Hydro Puls Robotic Pool Cleaner is essential to ensure its longevity and optimal performance. Here’s a detailed guide covering all aspects of maintenance, from cleaning the filter to storage tips.
Why Maintenance is Important
Regular maintenance:
- Enhances the device’s efficiency.
- Prevents wear and tear.
- Extends the lifespan of your robotic cleaner.
- Avoids costly repairs or replacements.
Step 1: Cleaning the Filter Basket
After every cleaning session, it’s crucial to clean the filter basket to remove debris and prevent blockages.
1. Turn Off the Cleaner:
• Ensure the cleaner is powered off and unplugged from the power supply to avoid electric shock.
2. Access the Filter Basket:
• Open the filter cover by pressing the designated button.
• Lift the filter basket using its handle.
3. Remove the Panels:
• Detach the filter panels carefully by pushing them out with your thumbs.
4. Rinse the Filter:
• Use a garden hose to thoroughly clean the filter panels and basket. Remove dirt, algae, and debris.
• Avoid letting debris dry on the filter, as this can reduce its effectiveness.
5. Reassemble:
• Reattach the filter panels and insert the basket back into the cleaner.
• Close the filter cover securely.
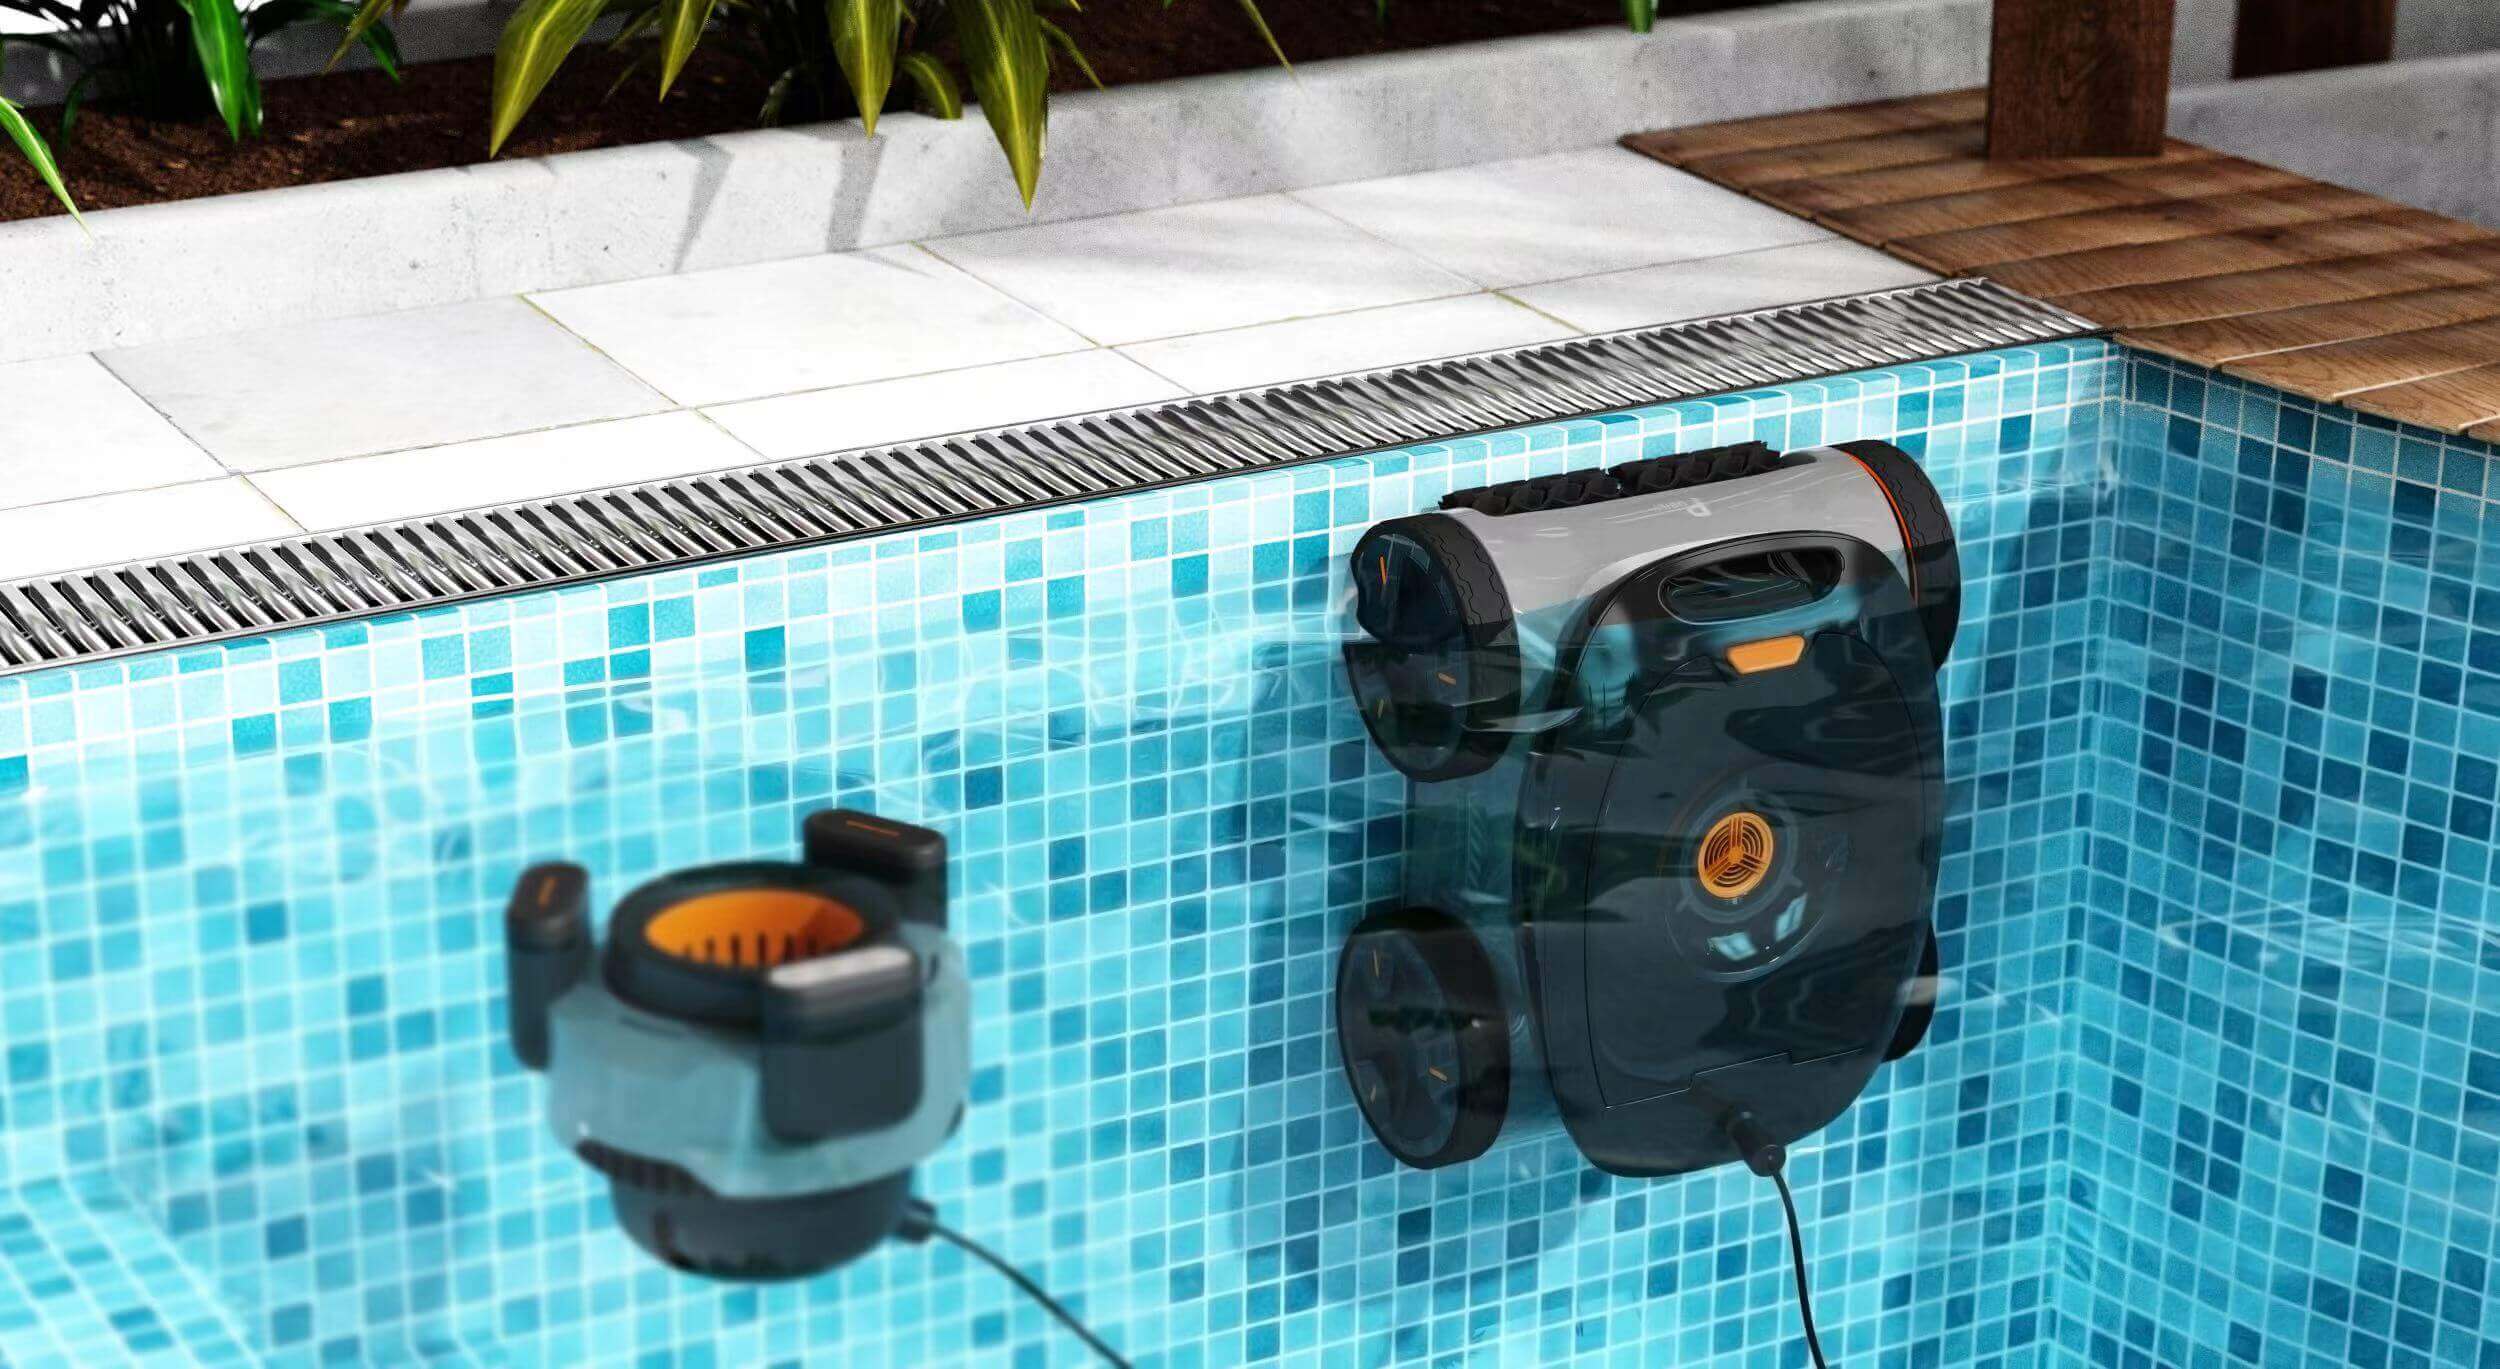
Step 2: Inspecting and Cleaning the Buoys
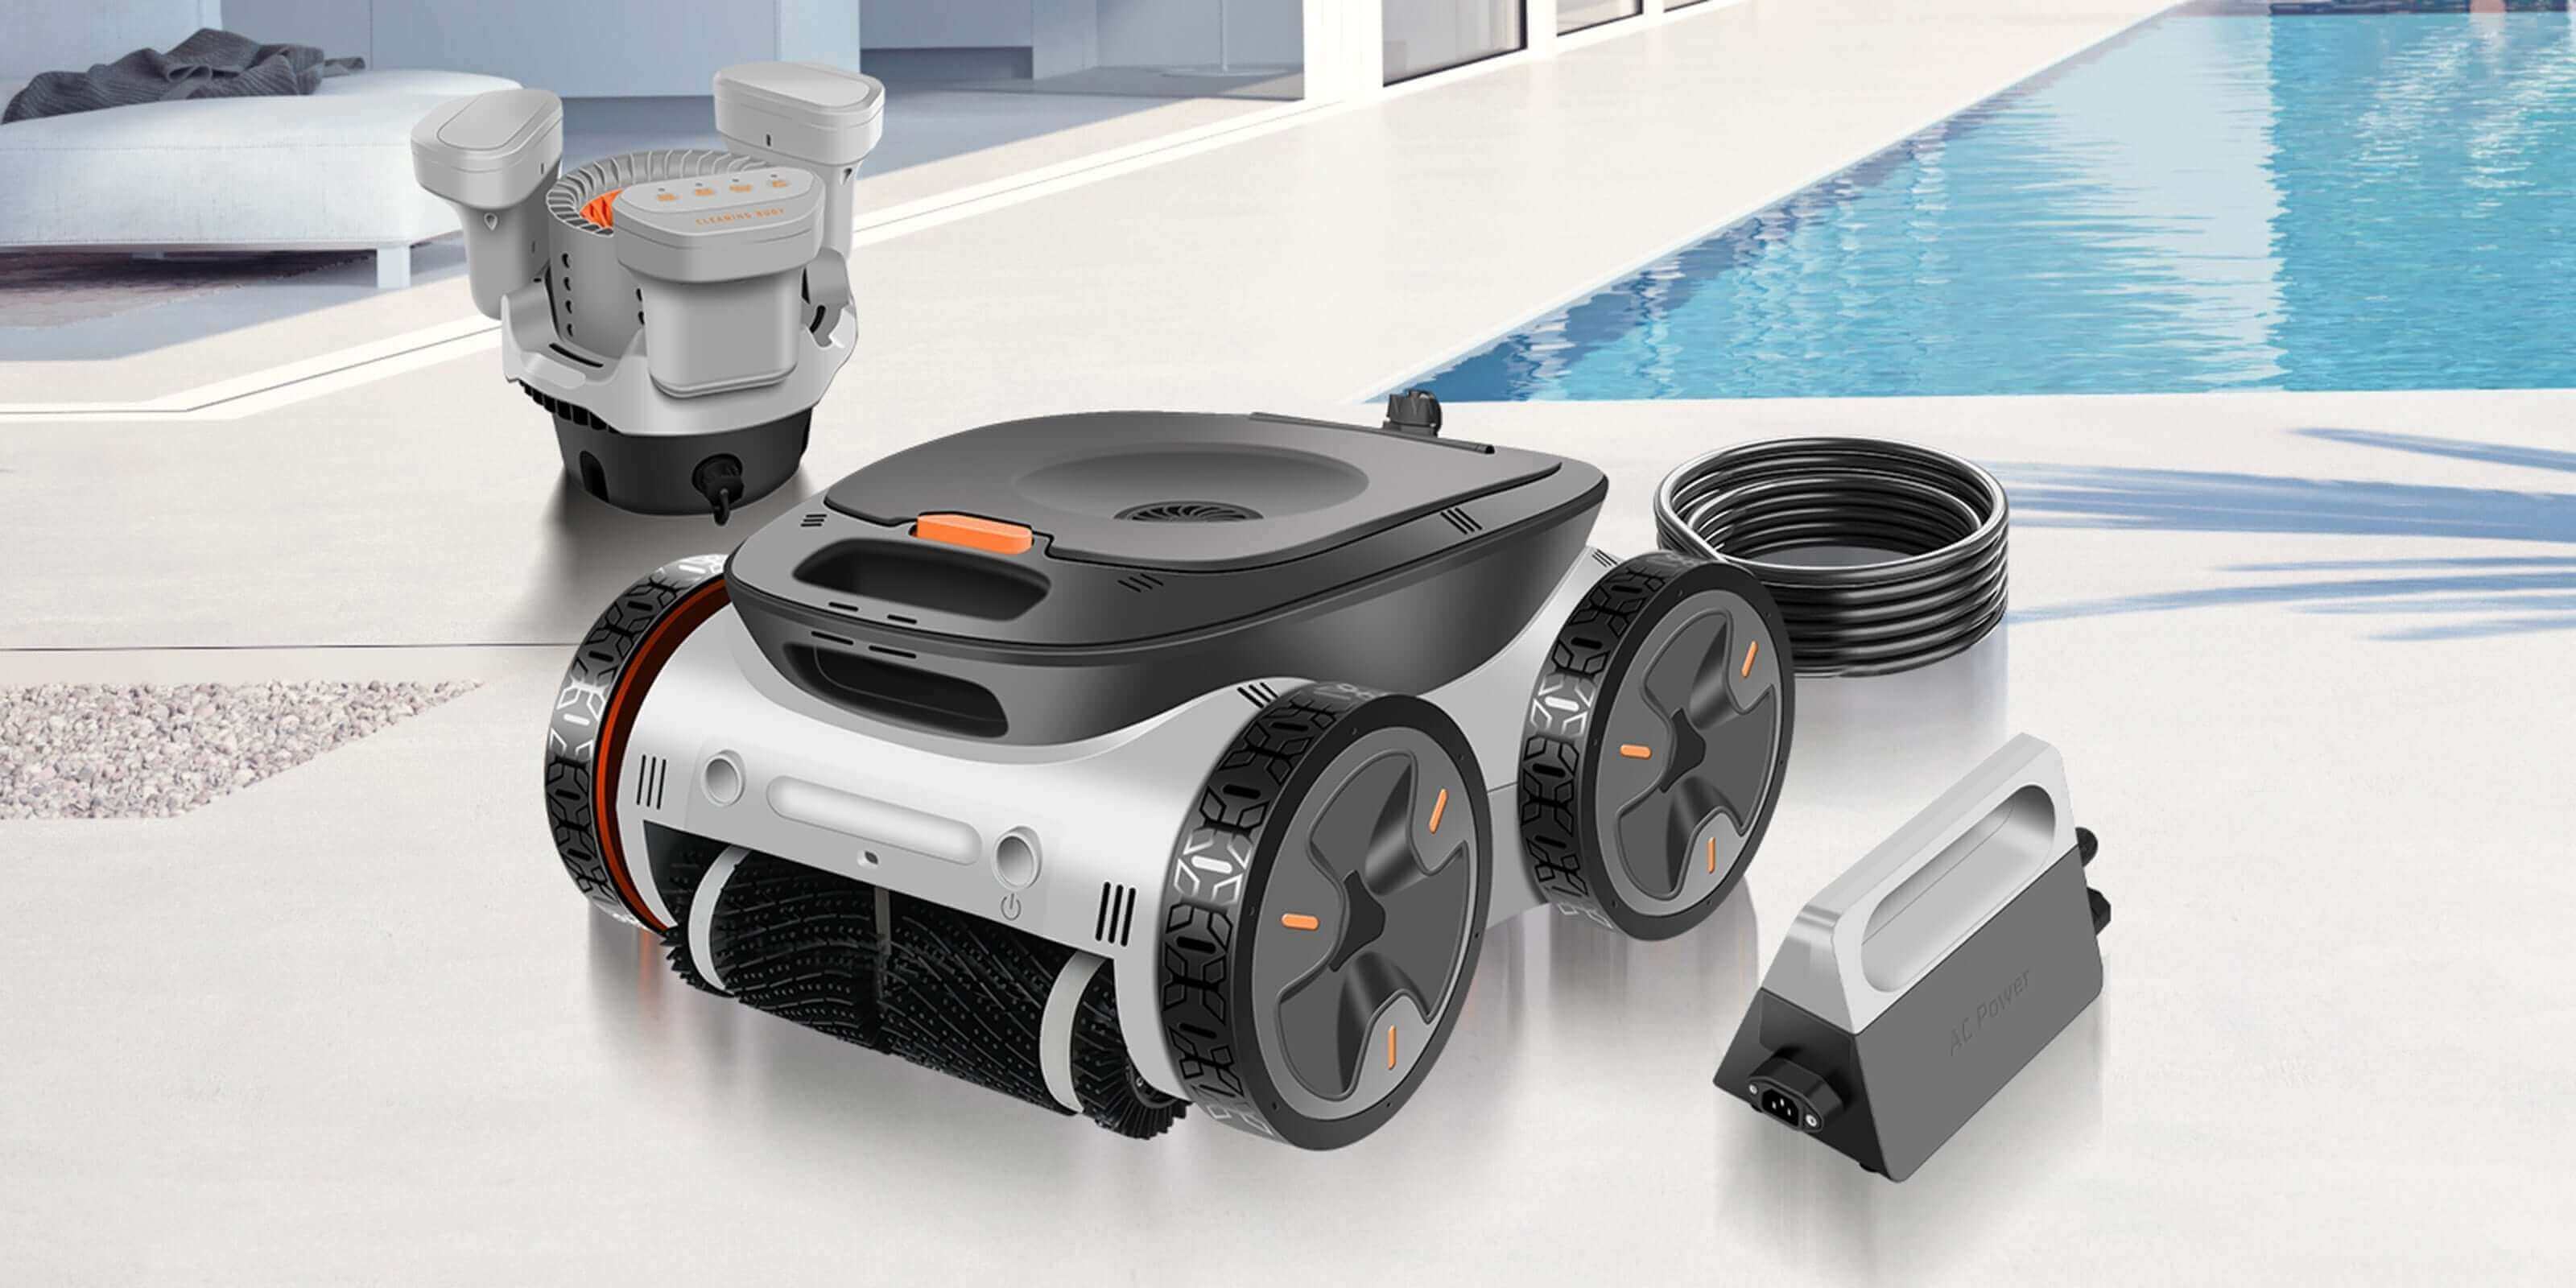
If your device includes cleaning or signal buoys, they require periodic checks.
1. Inspect the Cables:
• Look for cracks, wear, or frayed wires.
• Replace damaged cables immediately to avoid malfunctions.
2. Clean the Sponge (Cleaning Buoy):
• After every cleaning cycle, remove and wash the sponge in clean water to prevent algae buildup.
3. Secure Connections:
• Ensure all cable connections are tightly fastened to avoid water ingress.
Step 3: Battery Maintenance
The battery is a critical component, and proper care ensures it lasts longer.
1. Charging:
• Always use the provided adapter and charging port.
• Do not overcharge the battery; unplug once the indicator light turns green.
2. Storage:
• If not using the cleaner for an extended period, ensure the battery is partially charged (around 50%) before storage.
• Avoid storing the battery in extreme heat or cold.
3. Replacement:
• If the battery shows signs of reduced runtime, consider replacing it with an authorized replacement.
Step 4: Exterior Cleaning
1. Rinse After Each Use:
• Use fresh water to rinse off pool chemicals that may adhere to the exterior.
• Focus on the wheels and brushes, as debris can get trapped in these areas.
2. Avoid Harsh Chemicals:
• Do not use cleaning agents or abrasive materials, as these can damage the device.
Step 5: Storing the Cleaner
Proper storage is vital to maintain the device’s functionality during off-seasons or when not in use.
1. Dry the Cleaner:
• After use, remove the cleaner from the pool and let it dry completely to prevent mold or rust.
2. Avoid Direct Sunlight:
• Store the cleaner in a shaded, cool area to prevent heat damage.
3. Organize Accessories:
• Store cables, buoys, and the power supply neatly to avoid tangling or damage.
Step 6: Routine Inspections
Regular checks can prevent minor issues from turning into major problems.
1. Cables and Connections:
• Look for loose connections or damage.
2. Wheels and Brushes:
• Inspect for wear and ensure they spin freely. Replace if necessary.
3. LED Indicators:
• Familiarize yourself with the indicator lights to detect low battery or errors promptly.
Step 7: Protecting the Cleaner During Chemical Treatments
1. Remove Before Adding Chemicals:
• Take the cleaner out of the pool when adding chlorine, acid, or other pool chemicals.
2. Wait for Chemicals to Dilute:
• Ensure the pool water’s chemical balance returns to normal levels before reinserting the cleaner.
Step 8: Firmware Updates
For app-connected models, keeping the firmware up to date is essential for optimal performance.
1. Connect to the App:
• Use the “Smart Life” app to check for updates.
2. Perform OTA Updates:
• Follow the app instructions to update the cleaner’s software. Ensure the cleaner is dry and powered on during the process.
Step 9: Troubleshooting and Repairs
Address small issues promptly to avoid larger problems.
1. Common Issues:
• Clogged Filter: Clean the basket and panels.
• Weak Signal: Check the buoy connection or move closer to the device.
• Reduced Runtime: Charge the battery fully or replace if needed.
2. Seek Professional Help:
• For motor issues or major repairs, contact authorized service personnel.
Step 10: Seasonal Shutdown
If you won’t use the cleaner for an extended period (e.g., during winter):
1. Thorough Cleaning:
• Clean all components, including the filter, buoys, and cables.
2. Storage Preparation:
• Disconnect all cables and accessories.
• Store in a dry, temperature-controlled environment.
3. Battery Care:
• Maintain a partial charge and check periodically to ensure it remains healthy.
Quick Maintenance Tips
• Clean the filter basket after every use.
• Inspect cables and connectors weekly.
• Charge the battery only with the provided adapter.
• Store the cleaner in a cool, dry place away from sunlight.
By following these detailed maintenance steps, you’ll ensure your Hydro Puls Robotic Pool Cleaner stays in excellent condition, delivering efficient cleaning and long-term reliability. For additional guidance, always refer to the user manual or contact customer support.
Leave a comment
This site is protected by hCaptcha and the hCaptcha Privacy Policy and Terms of Service apply.